Notice Re: Boutique/Store Website

IMPORTANT NOTICE / MESSAGE IMPORTANT - TO ORDER please send us a message to magenta.magentastyle@gmail.com. Enter the code of the stamps you want to obtain (if necessary consult the Catalogs section) specifying whether you want a wooden or cling frame, your shipping address and phone number (optional) and if you have questions we will answer them. Thank you for your collaboration.

POUR COMMANDER svp nous faire parvenir un message à magenta.magentastyle@gmail.com. Inscrivez-y le code des étampes que vous désirez obtenir (au besoin consultez la section Catalogues) en spécifiant si vous désirez une monture en bois ou en cling (repositionnable), votre adresse et numéro de téléphone (facultatif) et si vous avez des questions nous y répondrons. Merci de votre collaboration.
Showing posts with label sewing /couture. Show all posts

Saturday, 14 October 2017

Page Amour - Love Page

Bonjour,
Aujourd'hui, j'ai fait une page avec 2 selfies que j'ai fais avec l'un de mes chats Miko.

Hello,
Today, I am sharing a page with two selfies that I made of my with one of my cats Miko.


Sur un papier aquarelle, j'ai fait une tâche avec un NeocolorII mauve. J'ai ensuite posé de la distress oxide mauve grâce aux pochoirs "duo de lettres et chiffres" et "Lollipop". J'ai cousus à la main des lignes aléatoires sur mon fond. J'ai tamponné ensuite le tampon texte en gris, puis le tampon étoiles en noir. J'ai ensuite collé mes 2 photos sur un papier noir, ajouté des découpes, un tag, du masking tape, du fils et une décoration bois.

On watercolour paper, I created an area of colour with a mauve NeocolorII. Next, I used purple Distress Oxide through both the Duo Letters and Numbers stencils and the Lollipop stencil. Then, I hand sewed random lines on the background. Next, I stamped the text stamp with grey ink and the star stamp with black. Lastly, I matted my two photos on black paper, added cutouts, a tag, masking tape, some thread and a wooden flare badge to finish it off.


*****

Produits Magenta utilisés:
Magenta products used:


Wednesday, 23 March 2016

Hoppy Easter - Lapins de Pâques

What is the Easter season without some adorable bunnies? The sketchy bunny stamp that I used for this layout totally fits the bill for adorable cuteness!

Que serait l'époque de Pâques sans ses adorables lapins?  L'étampe de lapin esquissée que j'ai utilisé pour cette page convient parfaitement.


The stamp comes with the bunny facing towards the right but as you can see, I have a left facing bunny. I was able to create that bunny by using a stamp transfer reverse/mirror image technique.

L'étampe présente le lapin regardant à droite mais comme vous pouvez le voir, j'ai aussi un lapin regardant à gauche.  J'ai pu le faire en utilisant une étampe transfère soit la technique du miroir.


First, I stamped the image using "juicy" ink onto another rubber stamp surface and then I stamped with that surface; thereby, transferring the image in a mirror manner. While it might not transfer as crisp and clean as a well stamped original, it can be sharpened up by going back over lines with a pen/marker.
      
D'abord j'ai étampé avec un tampon encreur très bien encré sur une autre étampe prévue à cet effet (étampe pleine) et c'est avec cette étampe que j'ai étampé ce qui revient à transférer l'image avec un effet miroir.  C'est évident que le résultat n'est pas aussi parfait qu'avec l'étampe originale mais on peut corriger avec un crayon ou marqueur sur les lignes.

*****

Magenta products used:

Produits Magenta utilisés:


Sunday, 12 July 2015

A lifetime remembered in our memories... / Une vie entière dans notre mémoire

 I won't call this an Art Journal page, but a play page, because that's what I have done!

Je ne considère pas cette page comme une page d'un journal d'art mais plutôt une page jeu, parce que c'est ce que j'ai fait!


The base has been started with stamped script and images onto white cotton. Plain white cotton. The diecut flower is also from white cotton. Love how spray paints seep into the cotton.

Au début j'ai étampé le texte et les autre images du coton blanc. Un simple coton blanc. La fleur découpée l'a aussi été dans le même coton blanc.  J'aime comme la couleur se diffuse dans le coton.

A lot of elements on here: a paper napkin, fussy cutting, fabric, stamping, a die cut and stitching!

Plusieurs éléments composent cette carte:  une serviette de papier, du "fussy cutting", du tissus, des étampes, une découpe et de la couture!

And the color has been achieved with pearl spray, a white acrylic marker and watercolor pencils, and of course the color of the paper napkin!

Et j'ai terminé en vaporisant un liquide perle, puis un marqueur acrylique blanc, des crayons aquarelle et bien entendu la couleur de la serviette de papier!


****

STAMPS USED: (click on picture!)

Etampes utilisées: (cliquer sur l'image!)

https://www.magentastyle.ca/store/product_info.php?cPath=398_492&products_id=15401&osCsid=h9cdb269m24epmc4setf2j6k71 


Ellie Knol - DT Magenta

Tuesday, 6 August 2013

Layout Leftovers / Retailles

Cassandra here today sharing with you the cards that I made using the leftover fussy cut butterflies from the layout I showed you yesterday.

Ici Cassandra, aujourd'hui je partage avec vous les cartes que j'ai fait en utilisant les retailles de la page que je vous ai présenté hier.


This is the first card that I made out of my scraps and supplies.

Voici la première carte que j'ai créé avec mes retailles et produits.


Magenta products used / Produits Magenta utilisés:


There is magic all around us stamp / étampe

CB669 - Small Tags / Petites étiquettes chipboard


From the stencil pack that I already had out on my workspace,  I chose a different flower that would work for what I had in mind.  I grabbed some gelatos (there like soft watercolour crayons) and created the flower and leaves by colouring directly in the stencil space. 

A partir du trio de pochoir déjà présent dans mon espace de travail, j'ai choisi une fleur différente qui irait bien avec ce que j'avais en tête. J'ai attrapé quelques gelatos (c'est un peu comme des crayons aquarelles) et j'ai créé la fleur et les feuilles en colorant directement dans le pochoir.


Then using a dampened paint brush, I blended and moved the colours to get the desired colour and effect I was going for.

Ensuite j'ai utilisé un pinceau humide, j'ai mélangé et bougé les couleur pour obtenir l'effet désiré.


Next, I cleaned the stencil under the tap (easy to do with just water as gelatos are water based) and flipped it to the other side to do the shorter flower.

Ensuite, j'ai nettoyer mon pochoir (facile a faire puisque les gelatos sont a base d'eau) et je l'ai tourné pour utilisé l'autre côté pour créé la fleur plus courte.


Once the flower was done, I glued on the butterflies.  Then using one of the new sentiments from this month's new catalog release, I attempted to stamp directly onto the card. And as can occasionally happen, I boo-booed and the sentiment was stamped slightly crooked. For some, that slight crookedness would not pose a problem in the least, especially given that it is on a card... a card that likely could end up in some recipient's recycle bin. Oh how  I envy such a laisse faire attitude (sigh) ... but oh no... that is not for me because my type "A" personality I couldn't let it be and I covered a chipboard tag with card stock and rest stamped it.

Une fois la fleur complétée, j'ai collé mes papillons. Ensuite en utilisant une de mes nouvelles étampes sentiment du dernier catalogue, j'ai tenté d'étampé directement sur la carte. Et comme il arrive parfois, j'ai eu un accident et ce ne fût pas un succès le sentiment était de travers. Pour certaines personnes, ce n'est pas un problème, surtout lorsque c'est sur une carte qui risque de finir un jour dans le bac de récupération. Oh comme j'envie cette attide "laisse faire" (soupir)... mais oh non... Ce n'est pas pour moi à cause de ma personnalité type "A" je ne pouvais pas laisser faire et je l'ai recouvert d'un tag en chipboard avec des retailles de papiers et étampé.


After inking the edges of the tag, I finished off the card with some faux stitching and glitter as flower centres and butterfly bodies.  This card was done and I only had one little butterfly left, so I moved on to another.

 Après avoir encré le tour du tag, j'ai finalisé ma carte avec du faux "stitching" et du "glitter" au centre de mes fleurs et de mes papillons. Cette carte était terminée et il ne me restait qu'un petit papillon, alors j'ai commencé une autre carte.


Small but mighty, this mini card is an ode to the teeniest, tiny scrap leftovers.  On my scrap table, I have a small bowl of little pretties that I figure that I will use them up on cards and ATCs some day.  Having that one lone small butterfly left, I put it to use on this mini thank you card and made the button-centred felt flower with leaves all from the bitty bits in my bowl.

 Petite mais fabuleuse, cette carte est un salut au plus petites, minuscules retailles de scrap. Sur ma table j'ai un petit bol rempli de jolies petites choses et je me suis dit que je les utiliserait sur des cartes et ATCs un jour. N'ayant qu'un tout petit papillon, je lui ai donné vie sur cette mini carte de remerciement et j'ai fait la fleur de feutre avec un bouton et tout les petits restant dans mon bol.


Next time you make a layout (or any paper craft project), think about using up those layout scraps and supplies, that you already have out on your work space. It is a quick and easy way to knock of another little project or two, before having to clean up.  Fun, fast, and fantastic... can't go wrong with that!

 La prochaine fois que vous créé une page (ou tout autre projet créatif avec papier), pensé a bien utilisé ces restants de scrap, que vous avez déjà sur votre espace de travail. C'est une façon facile et rapide de faire un autre petit projet ou deux avant de tout nettoyer. Amusant, rapide et fantastique... On ne peut pas se tromper avec cette formule!


Cassandra DeGrace - DT Magenta


Wednesday, 10 April 2013

New Challenge : fussy cutting and stitching / Nouveau défi : découpage et couture ... by/par Agnieszka Belliadea

Hi!
It's Bellaidea today with more inspiration for you...
We know you like challenges and we love to see your work with Magenta products.
This month's Magenta Challenge is fussy cutting and stiching. Magenta has many beautiful papers with flowers and another images but you can also use stamps and cutt the imagine off.
If you have sewing machine it's easy to add some stitching to your page but if you like me don't have it don't worry, you still can do it by hand.

Bonjour!
Ici Bellaidea aujourd'hui avec un peu d'inspiration pour vous...
Nous savons que vous aimez les défi et nous adorons vous voir travailler les produits Magenta.
Ce mois ci le Défi Magenta est du découpage et de la couture. Magenta a beaucoup de joli papiers avec fleurs et autres images mais vous pouvez aussi utilisé des étampes pour couper l'image. Si vous avez une machine à coudre c'est facile d'ajouter un peu de couture sur votre page, mais si comme moi vous n'en avez pas, pas d'inquiétude, vous pouvez le faire à la main.


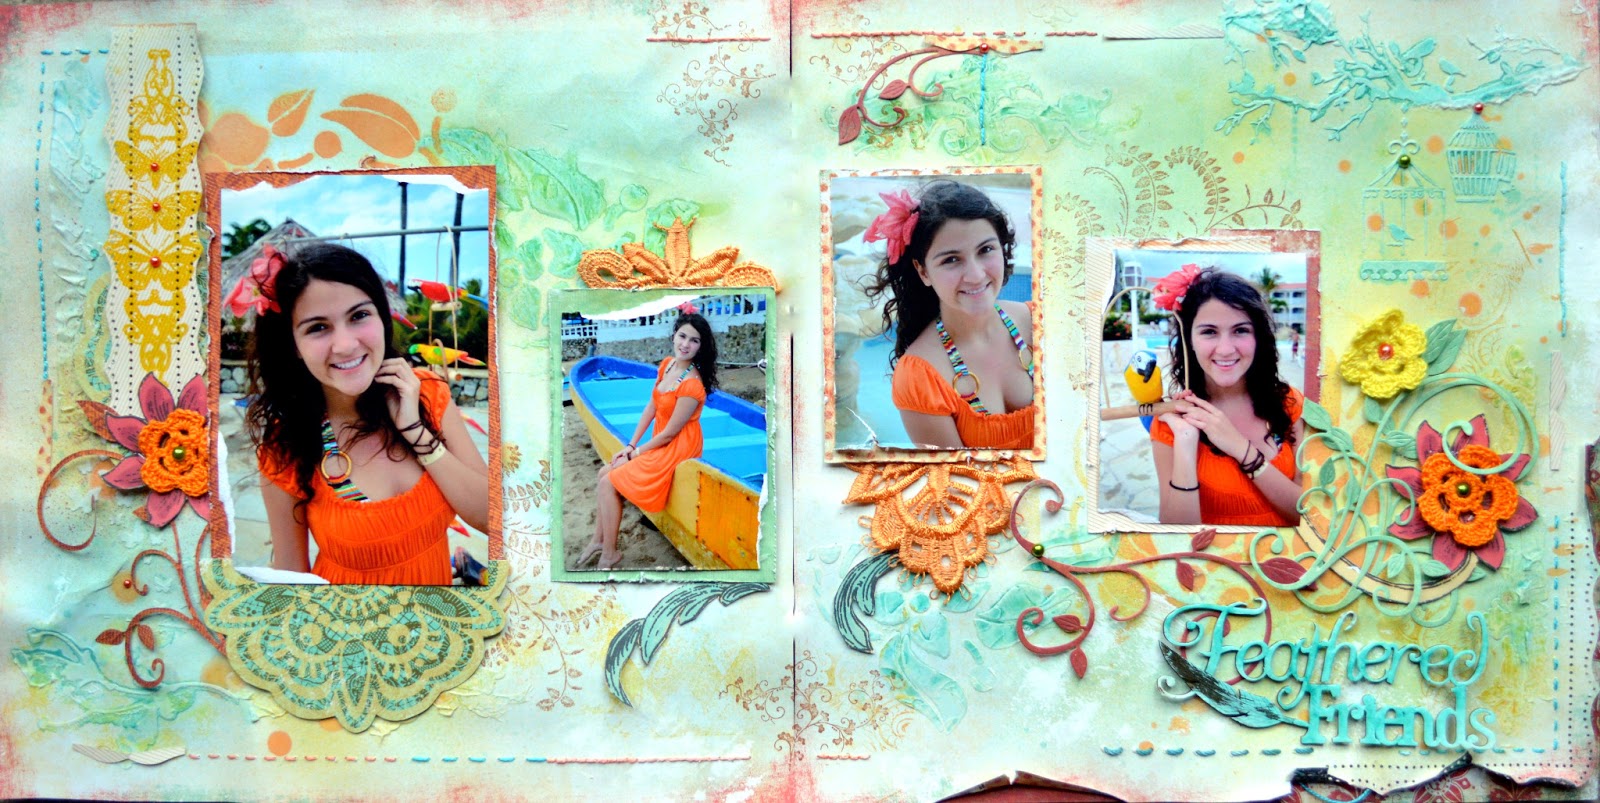
Here is a second layout I made for this challenge, a double page based on a sketch from CS.

Voici une seconde page que j'ai fait pour ce défi, une page double basé sur un sketch de CS.


I used Magenta stencils and stamps on this page, cutted out some elements from papers and added stitching in matching colors.

J'ai utilisé des pochoirs et étampes Magenta sur cette page, coupé quelques éléments dans des papiers et ajouté de la couture dans des couleurs assorties.


I hope you will join me? HERE
J'espère que vous allez aussi participer? ICI

Have a good month!
Passez un bon mois!


ps. Please let me know if you are joining Scrap Fest on the 13th, I will be looking for new friends there :) and will try to sponsor one challenge with Magenta products.

ps. Laissez moi savoir si vous allez à Scrap Fest le 13 Avril, Je serai à la recherche de nouvelles amies :) et je vais essayer de commandité un défi avec des produits Magenta.


Sunday, 17 March 2013

Happy St. Patrick's Day!/ Joyeux le Jour de St. Patrick


May the luck of the day of green be yours!

Que la chance soit avec vous en cette journée verte!


Magenta products used/ Produits Magenta utilisés :


ME209 Spring Rhapsody - 10 sheets      ME210 Robin's Nest - 10 sheets      ME212 Spring Tapestry - 10 sheets     ME215 Delicate Posies - 10 sheets   ME216 Peacock Blue - 10 sheets     CB638 - Mini Alphabet


aka Scrap Savvy - DT Magenta

Wednesday, 6 February 2013

LOVE BEGINS AT HOME by / L'AMOUR COMMENCE À LA MAISON par - DT Agnieszka Bellaidea

Hi!
It's Agnieszka Bellaidea today with my very first DT project for Magenta.
I got my first parcel with papers, stamps and stencil and could not wait to create.
Thanks for weekend at home!

Bonjour!
Aujourd'hui c'est moi Agnieszka Bellaidea avec mon tout premier projet DT pour Magenta.
J'ai reçu mes tout nouveaux produits Magenta, papiers, étamps, pochoirs et ne pouvait attendre pour créé. Vive les weekends à la maison!


Since I had so many new "toys" to play and decided to play with February's Canadian Scrapbooker sketch and new CSI case.
This is what I created;

Puisque j'avais tant de nouveau "jouets" pour m'amuser, j'ai décidée de jouer avec le défi de Février Sketch du Canadian Scrapbooker et le nouveau CSI case.
Voici ce que j'ai créé;


If you never saw my layouts before now you will know I like layers, stitching, fussy cutting, small elements, doilies, touch of mixed media and photos of my two childern :)
I hope I can inspire you to create with Magenta.

Si vous avez vu mes pages avant aujourd'hui vous savez maintenant que j'adore jouer avec les épaisseurs, broderies, "fussy cutting" petits éléments, doilies, le "mixed média" et des photos de mes deux enfants :)
J'espère que je vous inspirerez à créé avec les produits Magenta.


I like a lot this stencil with small butterflies, you can see them in the middle of the heart, I wanted them to look very soft so I used only some white paste.

J'aime beaucoup ce stencil avec les petits papillons, vous pouvez les voir au centre du coeur, je voulais qu'ils soit très doux, donc je n'ai utilisé que de la pâte à modeler blanche.


Template Nature Elements - TM28
Pochoirs éléments nature - TM28


I also used those stamps on my background.
J'ai aussi utilisé ces étampes sur mon fond.


Delicate Foliage Border - 42.121.N
Bordure délicate - 42.121.N


Berries Corner- 42.119.O
Bleuets (coin) - 42.119.O


Fern - 42.120.P
Fougère - 42.120.P


I can not wait to create another project with Magenta very soon and I'm working already on my next page, I hope you will visit me soon!

J'ai hâte de vous présenté très bientôt un autre projet avec Magenta et je travaille déjà sur ma prochaine page, j'espère que vous me visiterai bien vite!


Best regards
À Bientôt

DT Magenta


Wednesday, 1 August 2012

Getting More From Your Stamps / Maximisez l'utilisation de vos étampes

Hi all! Design Team member Cassandra here today with a border stamping layout tutorial to share with you.
Bonjour tout le monde! Cassandra de la Design Team ici présente avec une technique d'étampage pour bordure à partager avec vous.


When I choose stamps to add to my collection, I often choose them for their versatility. By this I mean stamps that have more than one element so that I can make use of them in a variety of ways.  You can use either the whole image or its parts as I did on this layout for this month’s Magenta 20th Anniversary blog challenge.

Quand je choisi une étampe à ajouter à ma collection, je les choisi souvent pour leur versatilité. Je choisi des étampes qui ont plusieurs éléments pour que je puisse les utiliser de différentes façon. Vous pouvez utiliser l'image complète ou certaine partie comme j'ai fait sur cette page pour le Défi 20e Anniversaire de ce mois ci.
 
Magenta products used / Matériel Magenta Utilisé:

 
Using one of my all time favourite Magenta stamps, I heat embossed the border by stamping with the side border on the image. I chose heat emboss over direct-to-paper stamping for this one because I wanted to use pink and had I stamped with pink ink, it would have changed the end colour due to the initial colour of the paper. In order to get a pink that would be true to colour and coordinate with the rest of my layout elements, I used heat emboss powder instead.


J'ai choisi l'une de mes étampes favorites Magenta, J'ai embossé la bordure en utilisant seulement la bordure de l'image. J'ai choisi l'embossage au lieu de direct-au-papier pour  parce que je voulais utiliser du rose et si j'avais utilisé de l'encre rose, la couleur aurait été changé à cause de la couleur initiale du papier. Afin d'obtenir le rose que je voulais et le coordonné au reste de mes éléments j'ai utilisé de la poudre à embosser.


I took the stamp and only loaded the long solid border side image with VersaMark ink.  I then started by stamping along the border of my page, repeating the load and stamp process until the whole side was complete.


J'ai seulement mis de la VersaMark sur la longue bordure de mon étampe. Ensuite je l'ai étamper à plusieurs reprise le long de ma page jusqu'à ce que le côté au complet soit rempli.
 
Then I added the pink embossing powder.


J'ai ensuite ajouter la poudre à embosser rose.

After heat setting the powder with a heat gun, I began to build my page, moving pieces and elements around until I was pleased with my design.  Next, I adhered some of the paper pieces, the title, the photo and some flowers.


Après avoir fixé la poudre avec un fer à embosser, j'ai commencer à construire ma page, en déplaçant les éléments jusqu'à ce que je sois satisfaite du résultat. Ensuite j'ai adhérer certaines pièces de papiers, la photo et quelques fleurs.

 
Then I wrote out the journaling adding in the Peel Off letters for certain beginning letters to form the word Magenta.  I added the end strip of paper, butterfly flight path stitching, embellishments and a few more butterflies to finish it off.


Ensuite j'ai écrit mon text en ajoutant des lettres Peel Off's pour la première lettre de certain mots pour former le mot Magenta. J'ai ajouté la bandelette de papier, le trajet de papillon brodé, les embellissements et quelques papillons pour finir le tout.


I hope you enjoyed learning about embossed borders and how this layout came together.  Next time you go to create a project, keep in mind the versatility of a stamp and be sure to look for the multi-purpose potential of your stamps to see how you can get more out of them.

J'espère que vous avez aimé apprendre comment embossé une bordure et comment j'ai fabriqué cette page. La prochaine fois que vous créé un projet garder en tête les multiples possibilités qu'une étampe vous offre et soyez certain de voir leur plein potentiel pour en tiré le maximum.

If you haven’t already checked out this month’s challenge, be sure to do so here for a chance to win some Magenta goodness.


Si vous n'avez pas encore regardé le défi Magenta ce mois ci, allez voir ici pour une chance de gagner des produits Magenta.
aka Scrap Savvy - DT Magenta