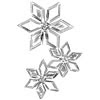
Flocon ou étoile stylisée, on peut interpréter ce motif différemment, il est très versatile.
Snowflake or stylized star, we can interpret this pattern differently, it is very versatile.
*
Ici, je l’ai étampé 3 fois sur du papier cartonné blanc. Un, bien centré et les pointes placées de manière équilibrée, sera la base du montage. Les deux autres seront à découper. Tous seront mis en couleur à l’aquarelle iridescente, en pensant que chaque « étage » est plus intéressant s’il contraste avec les autres.
Here I have stamped it 3 times on white cardstock. One, well centered and the spikes placed in a balanced way, will be the base of the layout. The other two will be cut. All will be colored in iridescent watercolor, thinking that each "stage" is more interesting if it contrasts with the others.
*
L’un est découpé en totalité, et même un petit coup de ciseaux peut être donné entre chaque section pour éventuellement en surélever une sur deux avec une gommette autocollante. Le troisième motif est d’abord découpé de manière à détacher chacune des sections triangulaires, sortes de « parts de tartes » que nous appellerons les pétales pour faire simple.
One is cut out entirely, and even a little cut of scissors can be given between each section to possibly lift every second one with a 3D dot. The third pattern is first cut out to separate each of the triangular sections, which are like "pie slices" that we'll call the petals.
*
Pour faciliter le découpage, on peut tracer des diagonales à l'endos.

To facilitate the cutting, we can draw diagonals on the back.
*
Je suggère une mise en couleur en alternance pour un meilleur contraste. Une fois tout mis en couleur et bien sec, une première étape consiste à prendre 4 pétales de même couleur et de les raccourcir en coupant un peu les pointes fines du centre – vous jugerez de la distance à couper car le but est de ne pas cacher le niveau précédent du montage. Pour les 4 suivants, j’ai plutôt retiré la bordure du haut pour un effet différent des précédents. Et j’ai même tranché ces sections, sans aller jusqu’à la pointe centrale pour que tout se tienne quand même.

I suggest alternating coloring for better contrast. Once everything has been colored and very dry, a first step is to take 4 petals of the same color and shorten them by cutting a little the thinner tips - you will judge the distance to cut because the goal is not to hide the previous level of the layout. For the next 4, I removed the top border instead for a different effect from the previous ones. And I even sliced off those sections, without going all the way to the center point so that everything would hold together anyway.
*
Le motif complet non découpé sert de fond au montage. On peut s'amuser à décorer, comme ici, avec des lignes et des points le contour de ce motif. Étant donné que ce montage peut devenir assez haut, il est préférable de coller les éléments du bas en haut, on colle donc le papier de couleur sur la carte, puis le motif de fond. Le motif découpé en entier mais non séparé vient ensuite, en le décalant pour que les pointes du premier niveau soient visibles. Comme j'ai partiellement coupé les pétales (sans aller jusqu'au centre), je glisse une gommette épaisse sous un pétale sur deux.
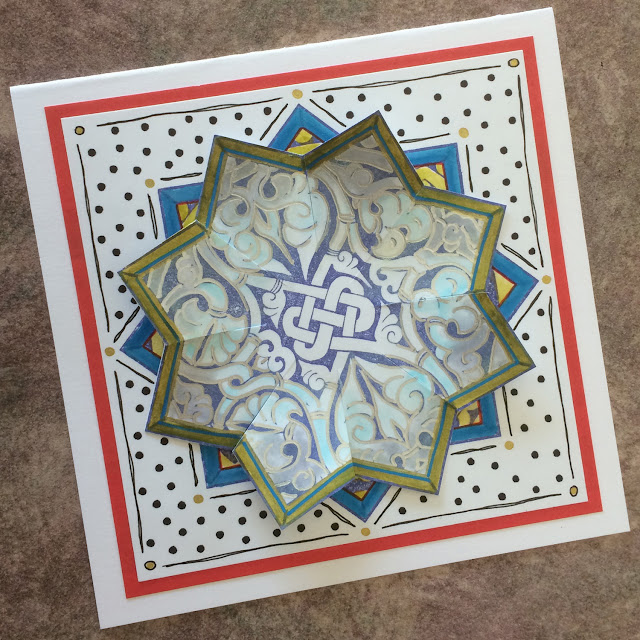
The complete pattern is used as a background for the assembly. You can have fun decorating, like here, with lines and dots around the outline of this pattern. Since this layout can get quite high, it is better to glue the elements from the bottom to the top, so we glue the colored paper on the card, then the background pattern. The pattern cut out in full but not separated comes next, shifting it so that the points of the first level are visible. As I have partially cut the petals (without going all the way to the center), I slip a 3D dot under every other petal.
*
Les deux derniers étages sont composés des pétales individuels que j'ai légèrement recourbés.
Je commence avec ceux ayant conservé la bordure, mais à la pointe coupée. Je les colle vis-à-vis leurs semblables du niveau précédent, celui qui est collé à plat. Je me sers d'une gommette épaisse pour surélever, mais aussi de colle pour que le centre soit collé à plat.

The last two stages are made up of the individual petals that I have curved slightly. I start with those having kept the border, but at the cut point. I glue them opposite their peers from the previous level, the ones that are glued flat. I use a 3D dot to raise them, but also glue so that the center is glued flat.
*
Puis les 4 derniers pétales viennent partiellement recouvrir les autres, en les surélevant un peu, mais pas au centre car il est important que le montage y soit plus plat pour ensuite ajouter la fleur. Celle-ci est faite de papier coupé de fines lanières (il existe des emporte-pièces spéciaux pour Bigshot, sinon le faire délicatement avec ciseaux... et patience!) et roulé comme pour du quilling.
Then the last 4 petals partially cover the others, raising them a little, but not in the center because it is important that this are is flat enough to add the flower. This one is made of paper cut into thin strips (there are special dies to cut them with Bigshot, otherwise do it delicately with scissors... and patience!) and rolled as for quilling.
*
Et voilà le résultat.

And here is the result.
*
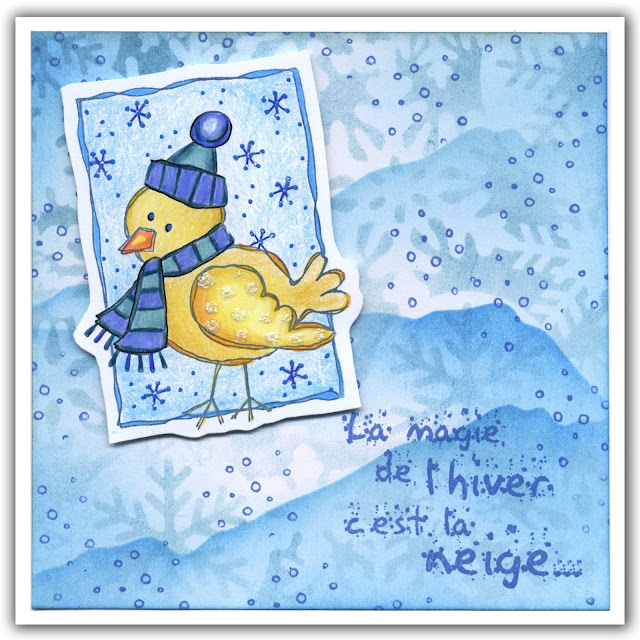
Pour vous inspirer, voici quelques autres cartes faites de la même manière, mais un peu moins surélevées (gommettes plus fines).
To inspire you, here are some other cards made in the same way, but a little less raised (thinner dots).